Tuesday 31 March 2015

Minotaurs Chapter Ebay Frenzy.

I've got a bad habit of searching Ebay whenever I'm starting a project to see whats about.

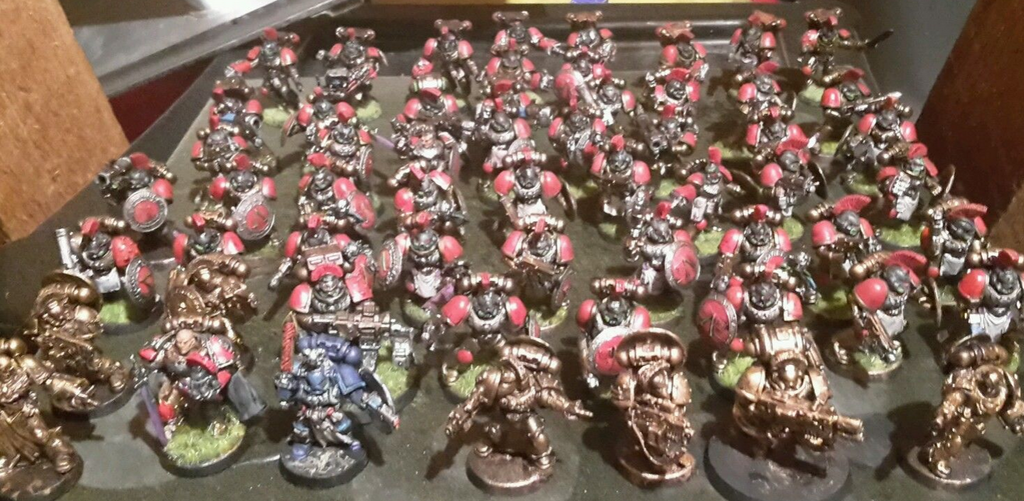
This time I got lucky and a very nice chap happened to be selling a pile of marines painted up as Minotaurs.

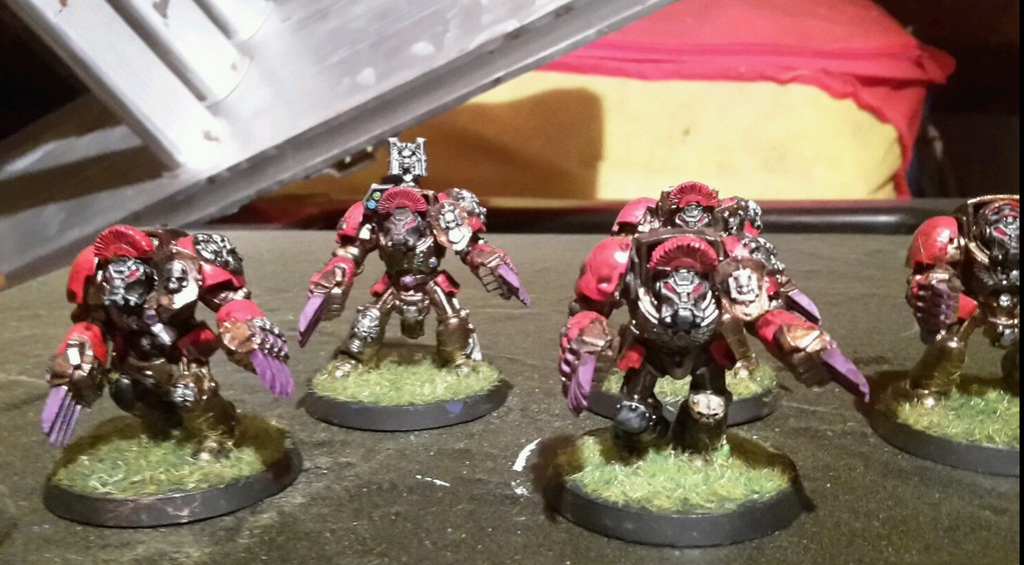
While not up to the standard that I like to paint my own stuff at there were a few of major points about the foot troop auctions the bloke had up.

  • They were listed as Menitaurs. (Search bonus!)
  • The paint doesn't look too thick.
  • They had a lot of Anvil Industries Spartan and Roman crests on them.
  • They had a lot Scribor Spartan Shields on them. (More than I'll ever need.)
  • Cheap. ( Like me, well what did you expect from a guy who does Miser's Guides.)
  • I can use them for games as I slowly replace them with my own and restore them as I go along.
With all that in mind the mouse finger went into overdrive a few times and I bagged.

5 Lightning Claw Terminators.


1 Space Marine Captain
1 Librarian.
8 Vanguard marine.
Assault Marines squad . ( 9 I think, jump packs look suspect but I happen to have a few spares knocking about.)
3 Tactical Marine squads. ( 30 SMs)
 Marine Devastator squad. (Guessing 10 marines).

All for £67.50. Not bad considering the Helmet crests are £1 for four from Anvil Industries and Zeus only knows how much the Scribor shields cost. Say approximately £1.05 a Marine no matter what type and 40 pence of which is extra resin Greekness.

Even with the inevitable casualties the restoration process will incur, worth it. 


Also a box of new Devastators, 30 FW Minotaur Power Armour Shoulder pads, 10 FW Minotaur Terminator Shoulder Pads, 1x FW Minotaur Rhino doors, Badab War Imperial Armour 10, 150 lil magnets, matching drill bits bought in various Ebay auctions.

All this means I'm flat broke and hoping that myself or the missus beat a certain spaniel to the letter box every day for the next week or so.

Not only that, I bought a Tactical Blood Angels box to test the paint scheme on ( Also 10 FW Minotaur Shoulder pads) and found about 5 marines in a box of random. 10 Temistokles heads and 5 Temistokles shields from PuppetsWar because of the well sculpted Greek key pattern on some of the bits.

So more Power Armour than I probably need or will get round to painting with plenty of extra Greek detail to keep me busy for a while.

On a cheaper note I found a Predator and Whirlwind in another box of random  that I thought I had sold ages ago. ( I really have too much GW stuff in the house.)

Now to get some painted before that lot turns up..

Saturday 28 March 2015

Minotaurs Space Marines

Where have I been?

Been a bit lacking in hobby mojo recently, after a few failed starts on things I should paint (mainly the big piles of 40k Chaos Marines and Orks). I have found the something I have wanted to do for some time that floats my boat enough to keep motivation at a reasonable level.

Why Space Marines?
 
Something about blocks of Space Marine units on the table has always appealed to me, probably the cohesive colour scheme across all the whole army being visually striking, coupled with the forgiving nature of game play with them. Add that to a low model count and for a painfully slow painter like myself they are a gift.

Last time I started SMs was the end of 2nd Edition although the army didn't get up to playable strength til 3rd Ed. Red Scorpions was the choice then and I enjoyed them a fair bit. Forge World released minis too late for that and I always was regretted the loss of my fairly original choice of chapter as it became a pretty common army as well as the fact I couldn't justify buying into the FW bits for the biggest and most complete army I had duplicating what I had painted already.

Scroll forward in time and my old Red Scorps are gone, 3 rules editions later I'm ready to paint Marine again.

I always had a plan for my own chapter, but after some time have decided that getting the vehicle doors, shoulder pads and other bling sculpted across a whole army was just setting myself up for yet another failed or stalled project.

After a lot of Google I decided on one supported by Forgeworld as a sort of compromise between my own chapter ideas ( A Greek themed army) and my need to avoid getting into a sculpting painting nightmare.
This way I can buy a lot of extra detail from FW, yet still invest a bit of sculpting time into any particular unit of mini I want  to have an extra bit of presence.

Minotaurs Chapter

That decided time to get something started.

I grabbed a box of Blood Angel Tactical SMs from the local GW and a set of paints for the scheme. BAs were chosen because of the Sergeants GrecoRoman bodyform armour and of course the 32mm bases.

Hmm speaking of bases.....

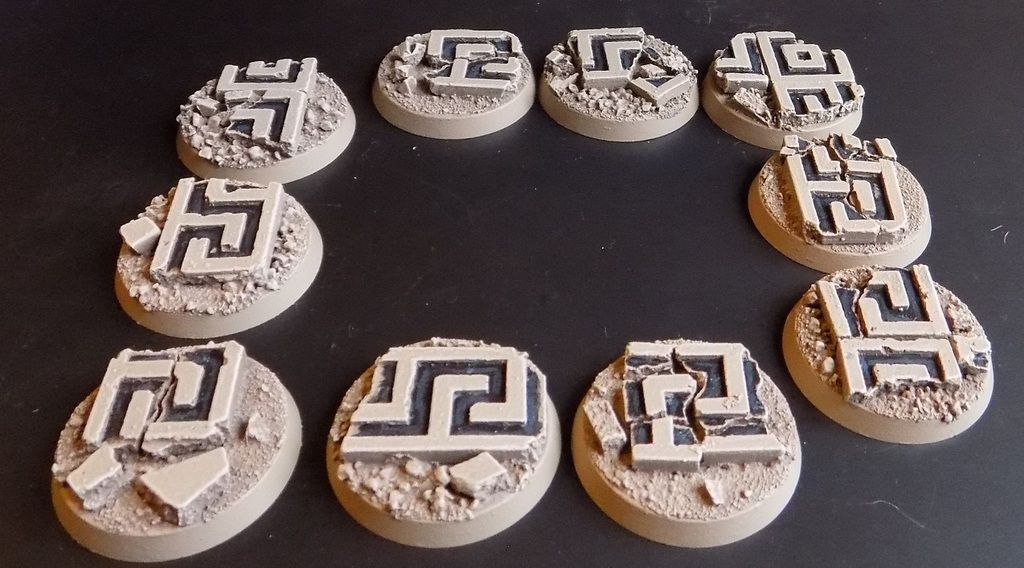
Whilst waiting on ForgeWorld Minotaur shoulder pads I had a play with base designs to enforce the theme.

Home made Greek Key bases.


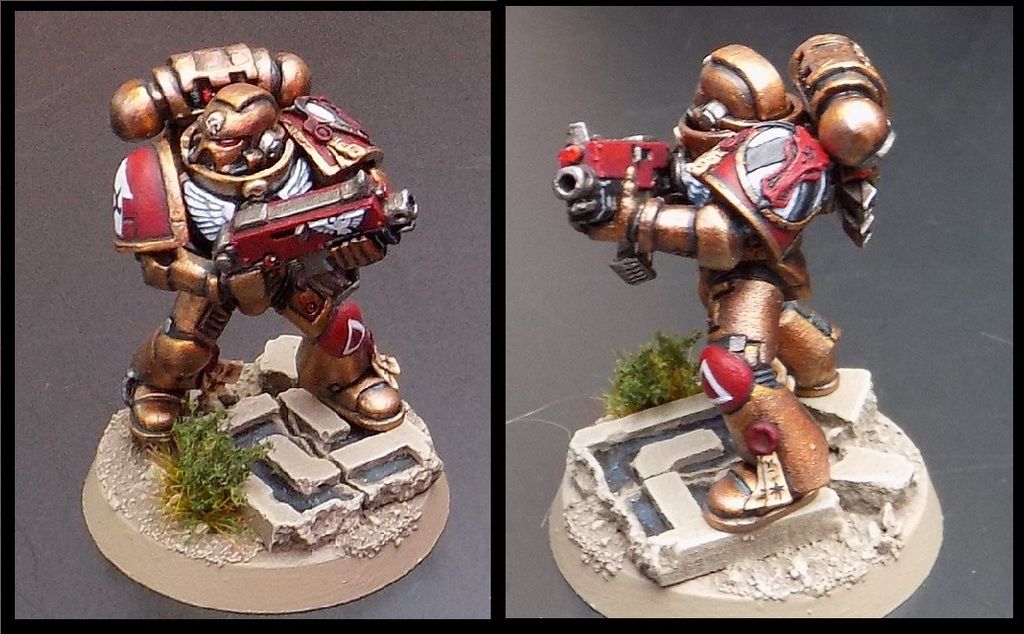
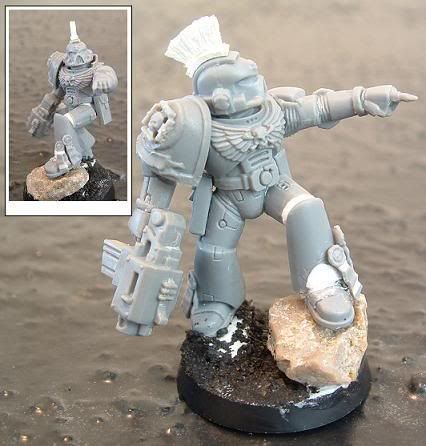
Starting with a Tactical squad using ForgeWorld shoulder pads seemed like a sensible place and a test mini was in order once the shoulder pads arrived, to work out which was the best way for me to paint them.

Minotaurs test mni.


 Overall I'm happy with the result, just a case of painting more to refine how I get there.


Wednesday 4 March 2015

Foamex


Vash's secret scratch building weapon.

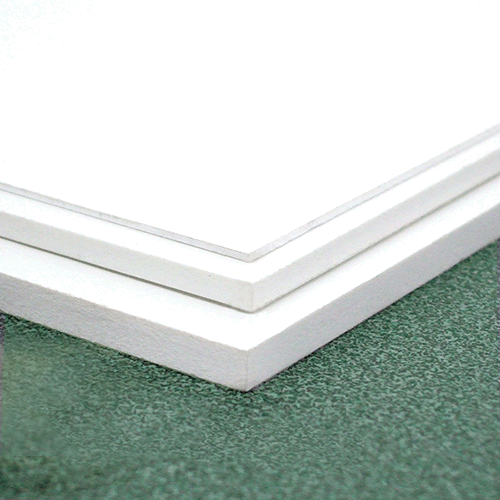
Foamex PVC.


What is it?

I have been using this material for nigh on 15 years now, ever since I found about 20 square meters of it leaning against a bin. Pretty much every project log I have posted will have some in there somewhere.
So what the hell am I on about when I say Foamex....

Most often found being used in signage in shops PVC Foam is an Economic, Versatile and Lightweight material. It has a smooth matt silk finish and high impact resistance. Foam pvc will not rot or swell like timber and can be easily Cut - Sawn or Drilled and even Carved and Sanded.
(Not to be confused with Foam Core, which is a sandwich of lightweight foam between to bits of card.)

Most commonly I have seen it in 3mm or 5mm thicknesses as signs but I have bought a 1.5mm thick sheet before and acquired 4mm sheets.
For most things I have used 3mm as it is nice and easy to work with.


Where to get it on the cheap?

It is pretty cheap to buy in the first place but the best way to get it is for free.

Watch all your local stores to see if they use seasonal signage advertising sales or particular product lines. These are the sort of signs that are quite often thrown away at the end of said promotion.

There are two ways to get yer mitts on these signs the first being ask .
This is the best way, you just go up and ask if it would be possible to collect the signs once the store is ready to throw them out.
Why is it the best way? Well it's legal no matter where you are in the world, it will be clean and if all goes well you might even be able to set up a regular supply of this brilliant material.

The second is bin skimming, skip diving, trash trawling what ever you want to call it.
Basically look around the waste of shops and see if any is about.
Be very aware of the law concerning taking waste in your part of the world and Really pay attention to any heath risks that may apply.
I'd hate to lose a hobbyist to a trash compactor, disturbed tramp attack or some nasty disease like viles.


How can you use it?

Because this material is very easy to shape it's uses are pretty much unlimited, Iv'e made things as small as a bionic eye up to big buildings you can hide Titan in, hell I have even made a Titan that used the stuff extensively.

Here is a rough guide to using it:

First thing is to make clear is Super Glue is a must, I have never found a plastics glue that bonds the stuff.
Secondly, be prepared for statically charged shavings clinging to stuff during cutting,carving and sanding.


Cutting
The easiest way to cut 3mm thick or less is to use a knife and repeat score the line of cutting until you are through, although saws will cut through it easily I find that it is a messier process.

Scoring will work for greater thicknesses than 3mm but patience is the key, fine toothed saws are probably best, for curved shapes I normally use a Jigsaw or Coping saw with a blade designed for metal.

Carving
This stuff is great for whittling or carving, I normally use a scalpel.

Sanding
Treat as a soft wood when sanding and you'll be grand. Coarse grade sandpaper will leave scoring marks, fine grade emery paper should be used for finishing.Will create a fair bit of dust.

Here are a selection of images showing work I have done with this material.

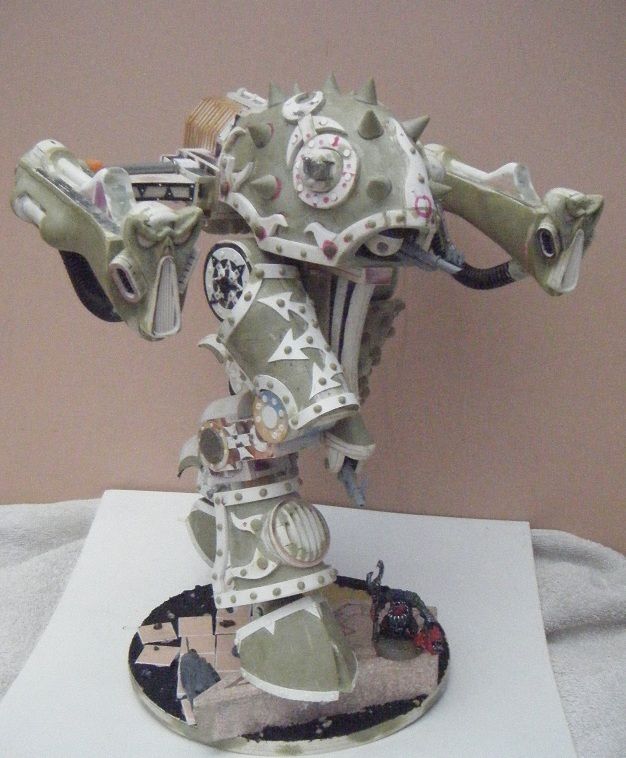
Much of the structure and a lot of the details of this Slaanesh Questor scout titan were made using Foamex, even the base was made from it.


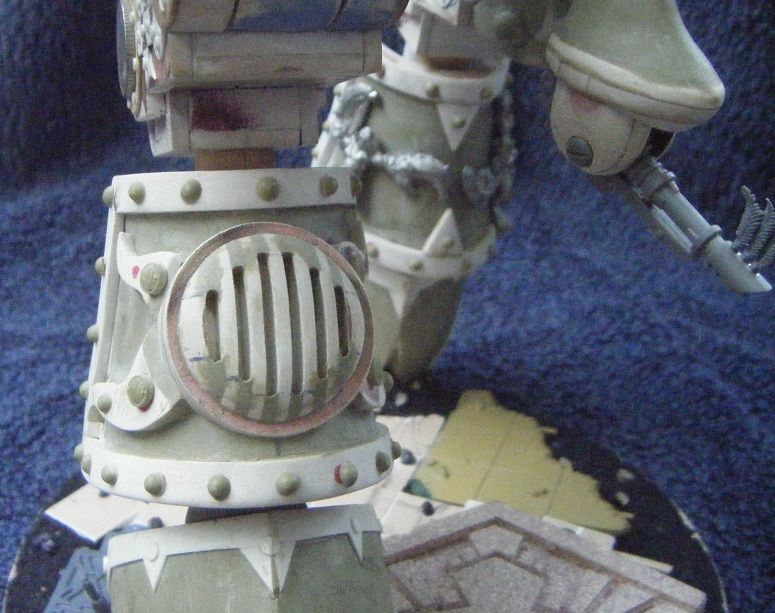
Most of the internal structure of this.


A lot of the details on this


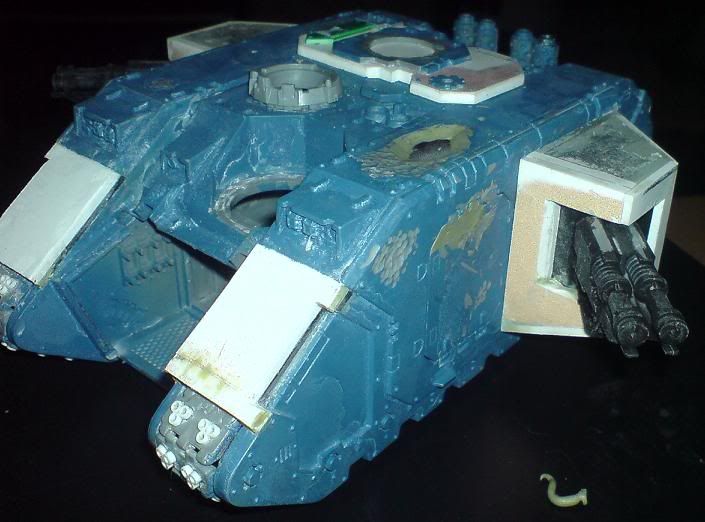
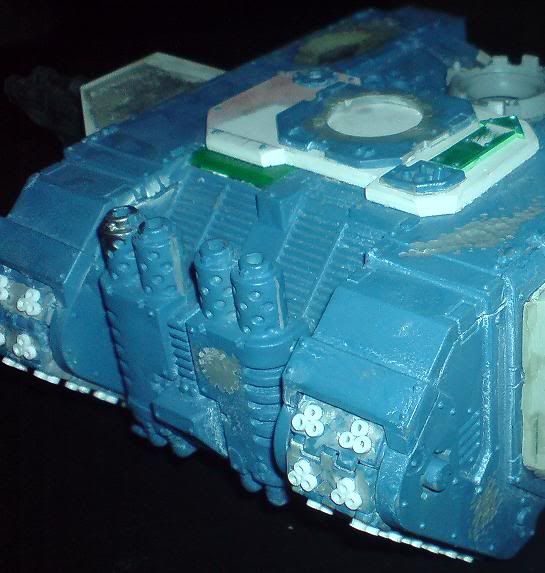
Here you can see Foamex being used to make structure to replace and re model missing tank parts.


Second hand kit rescue

Restorations


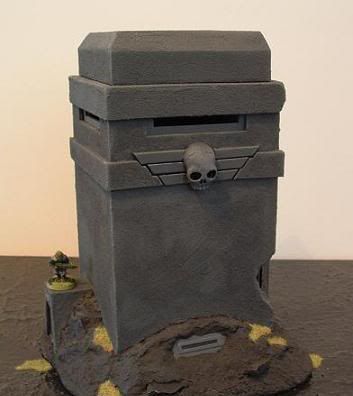
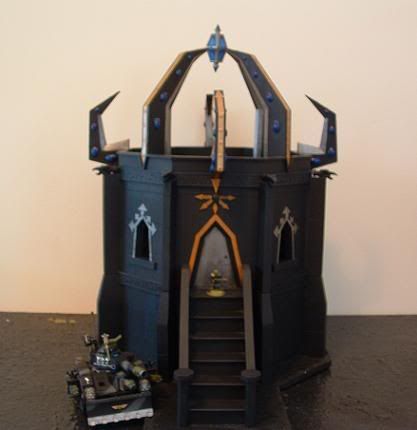
Great for Building.... well er buildings.

Home made Bastion


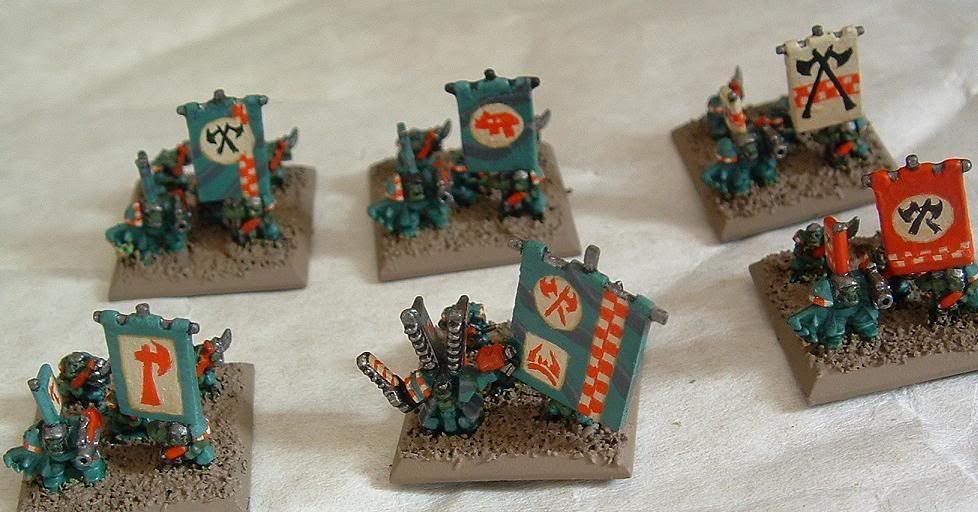
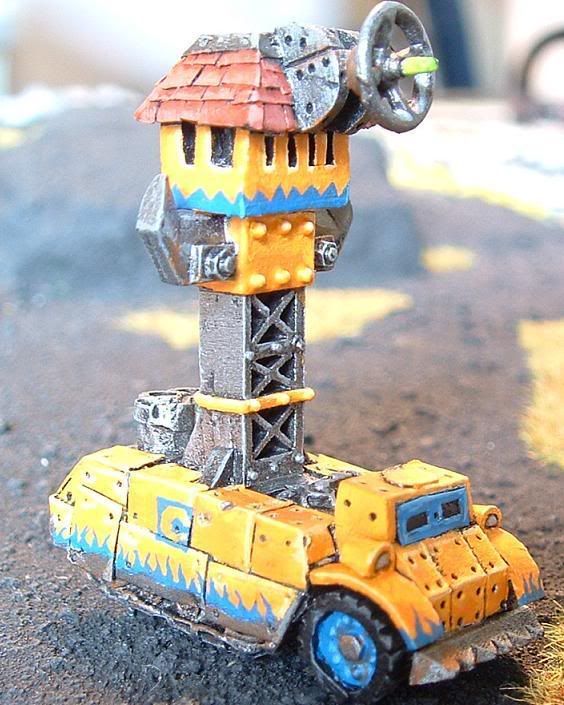
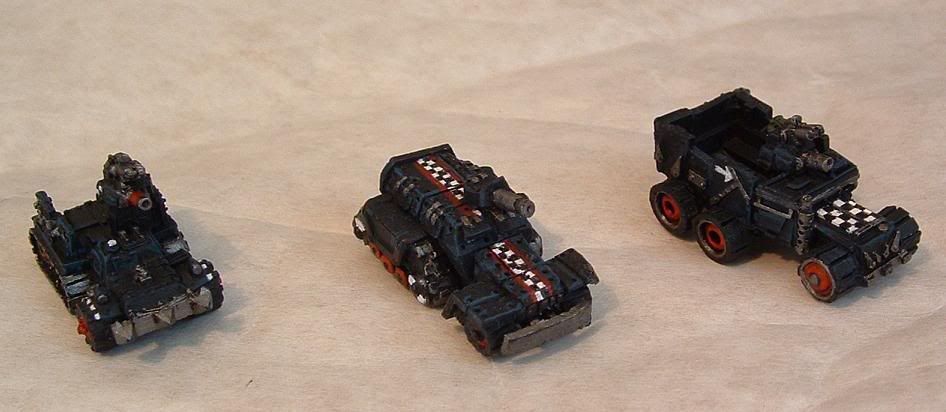
At the tiny end of the scale The larger Banner on these Epic Orks is made from foamex as is the body work of the scratch built Weirdboy Tower and middle Battle Wagon. There is even a Gargant I made from the stuff.


Warboss size Epic Banna

Even tiny details such as the front wheel tread,


The middle Battlewagon only.

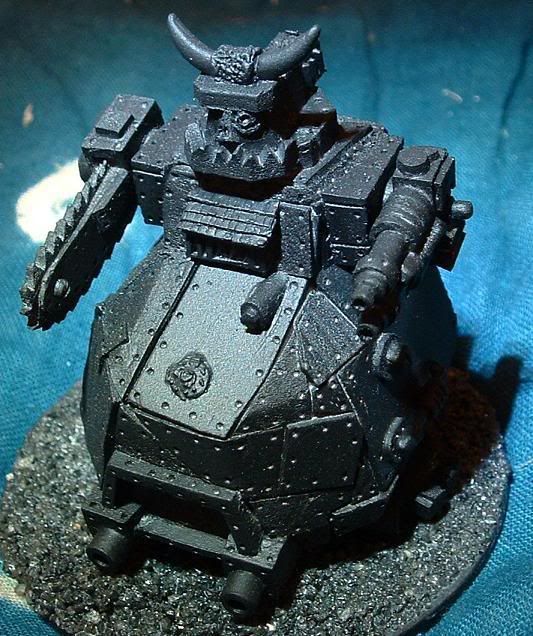
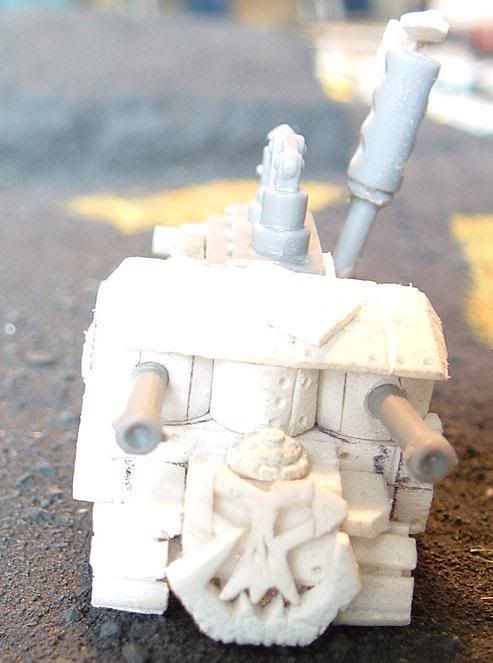
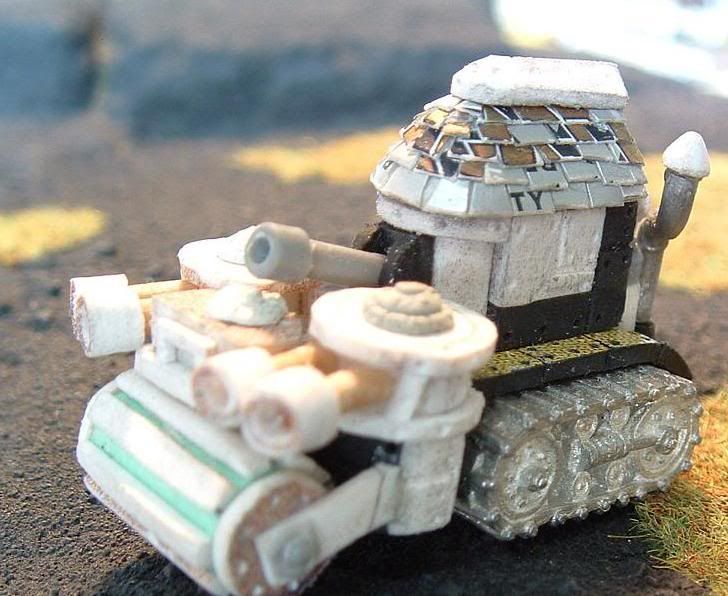
Gargants in Epic or 40K scales

Fiddly details Epic scale


Thin enough to make Epic scale Gun muzzles


Random selection of other things I have made from Foamex.

Looted Wagon

Marine Crest

Huge Chaos tower

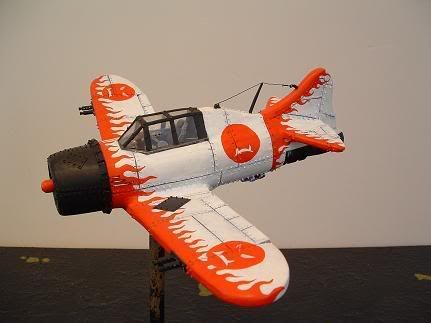
Carved to make a Zero stylee Fighta Bomma.

Saturday 21 February 2015

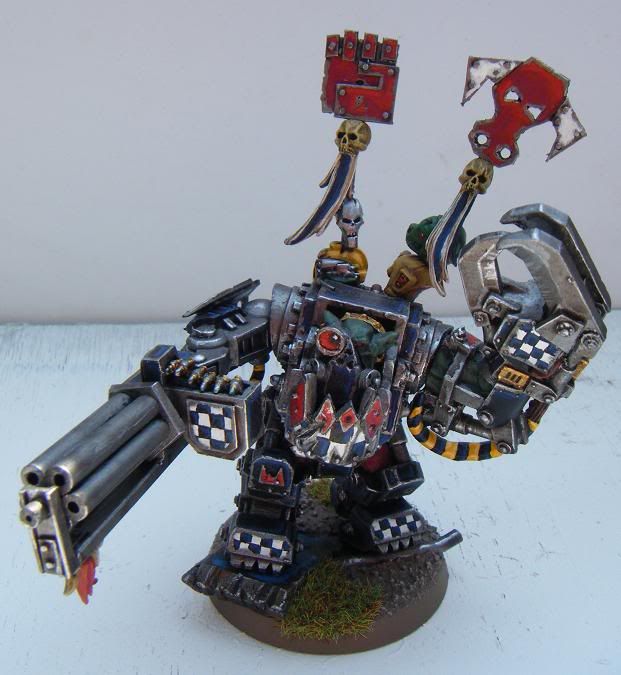
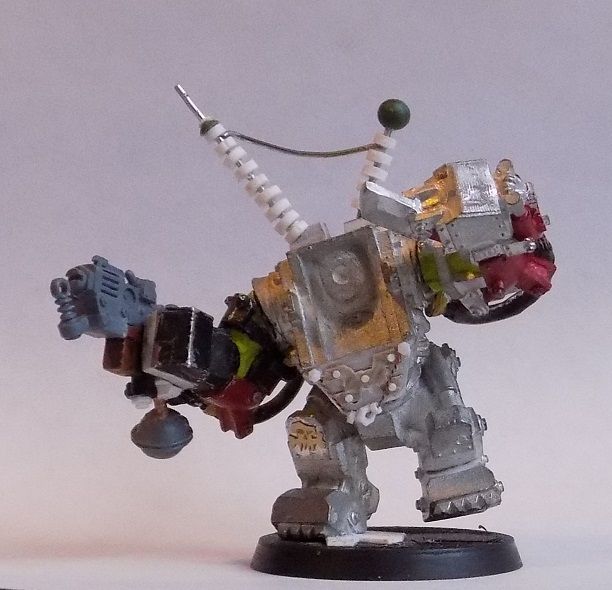
Mega Armour Big Mek.

Had a for fun game at Eastbourne Elemental the other night and it was my first go at the current rules edition.
I took on a Alliance of Astra Militarum and Grey Knights and it was just an all out brawl, no mission.

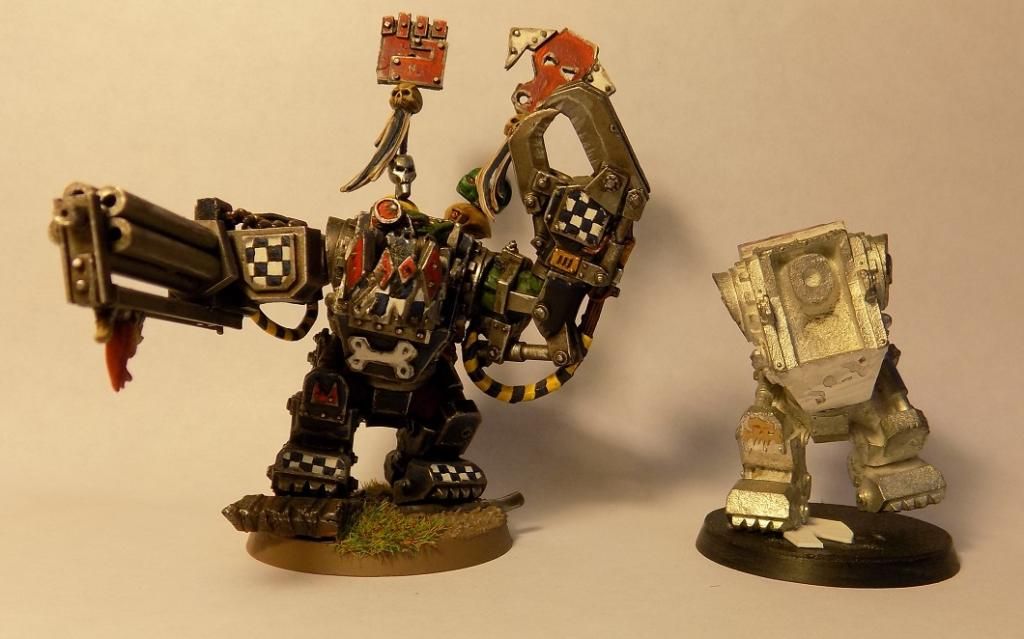
Da Kommanda
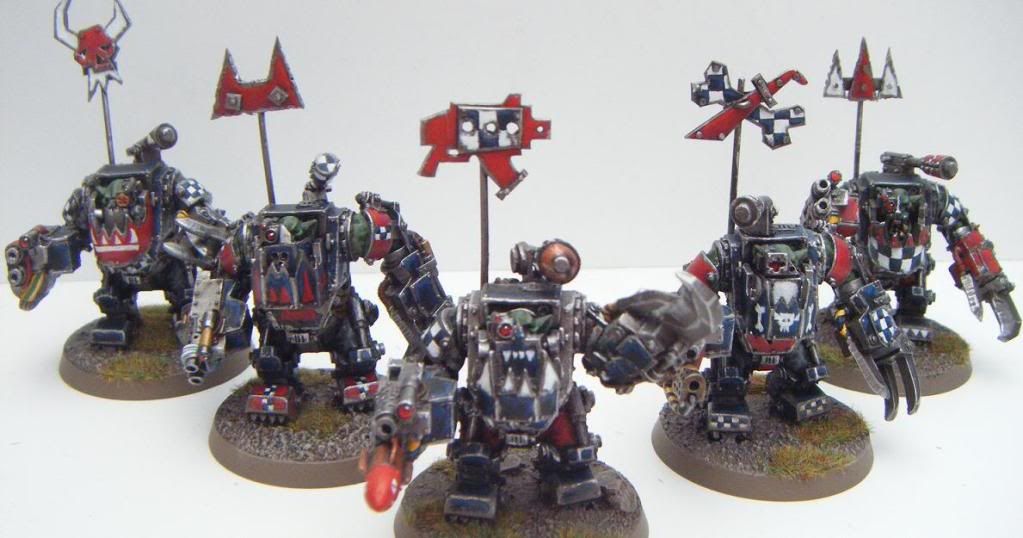
Whilst I'm not about to embark on a battle report I will say my 5 Mega Nobs and Mega Armour Warboss with KFF mek were great fun. With the assistance of 19 shoota boys and their nob managed to intercept and kill Draco, about 5 Terminator Knights and a Terminator Librarian over the the game and move on to krumping a unit of 6 power armoured Knights and 3 heavy Armoured Ogryns after that.

As it wasn't a serious game I'm not going to read to much into it except Mega = Fun, it also means much less painting. He he.

Mega Fun.


With the Bound/Unbound thing in 40k now and a reasonable pile of metal Mega Nobs and a second metal Ghaz on the shelf of much to do, it seems a good time to be a silly Kommanda and get some done.

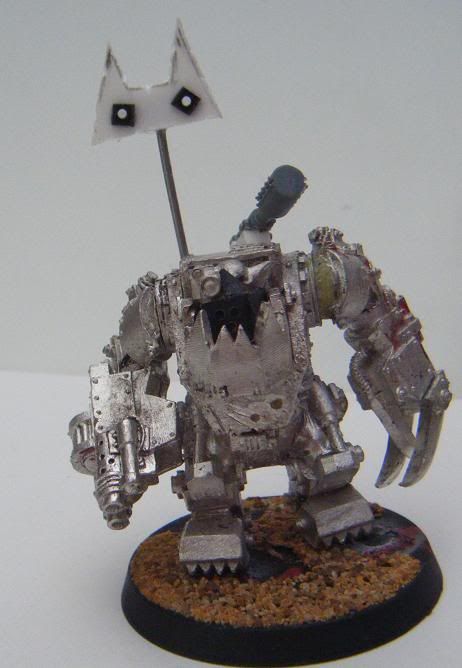
First up is Ghazgull Thraka, I've already chopped one of these old metal minis about for a Warboss so it is familiar territory. The fact I have a Warboss done rather suggests a Big Mek should be next. ( That and the bellowing voice in my head I can only assume is Mork.)

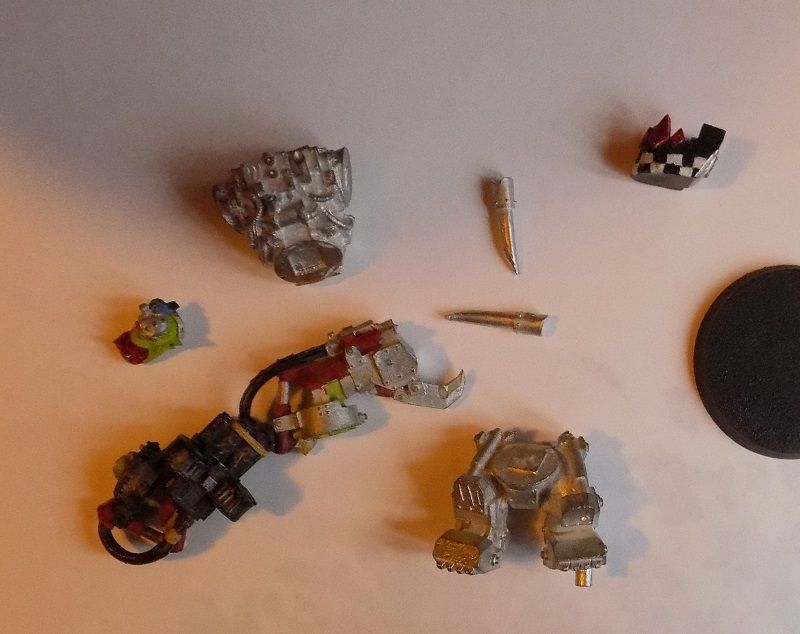
Bitz for Big Mek

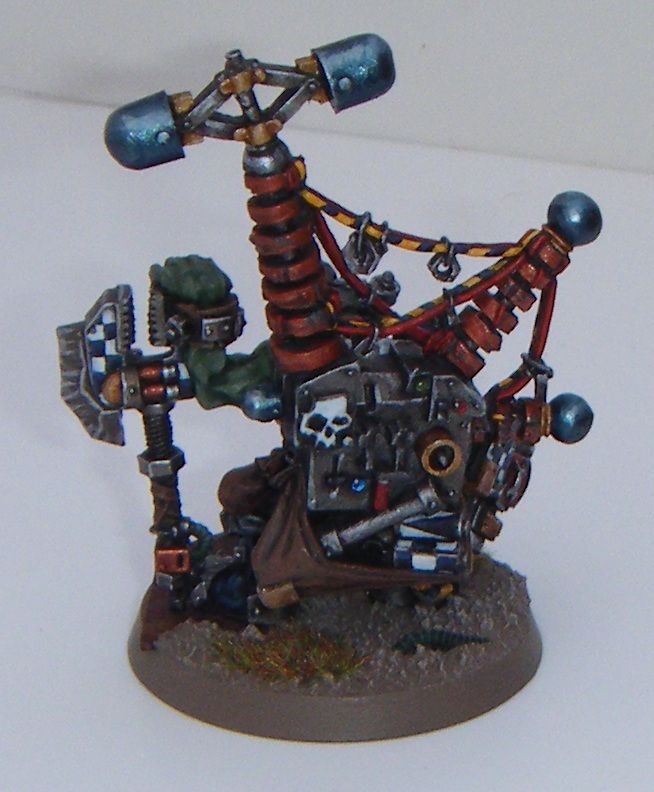
As I was running a Kustom Force Field Mek in the game the other night I'll be slapping a KFF on the back of him.

KFF inspirashun.
Trying to avoid the 'just another Ghaz' look, the first job is detail removal and as much reposing as the mini allows, lots of metal whittling ( those pesky connection cables at the waist and arms take some real work to remove) and detail removal ensues creating a mess that must be cleaned before the beloved returns from work and this is the result (apart from the mess).

Big Mek Body prepped.
Now to loose the Twin Shoota and add a Kustom Mega Blasta for that arm, remodel the 'cutty' claw arm to a more Mek useful 'clampy' version and re-detail the chest plate. (Right knee has already had a Forgeworld brass glyph added.) I foresee a razor saw and yet more mess.

From small spores great fungus grows....slowly.

Friday 20 February 2015

Misers basing materials.


Basing Materials: Sand, Gravel and Rock

Once again I'm back with my penny pinching ways to offer you another way of saving vital cash for miniatures.

This one is all about simple yet effective basing substrate on the cheap.

A few companies have been flogging sand and grit to gamers at greatly inflated prices for a while now so it is time to try and counter it.

One of the problems with buying such stuff on the cheap is that the cheapest available tend to be for use with the building, gardening, or landscaping trades. And this means bulk. None of us are really going to need 25kg of sand so the first examples are nice small manageable quantities at low low prices.


Grit

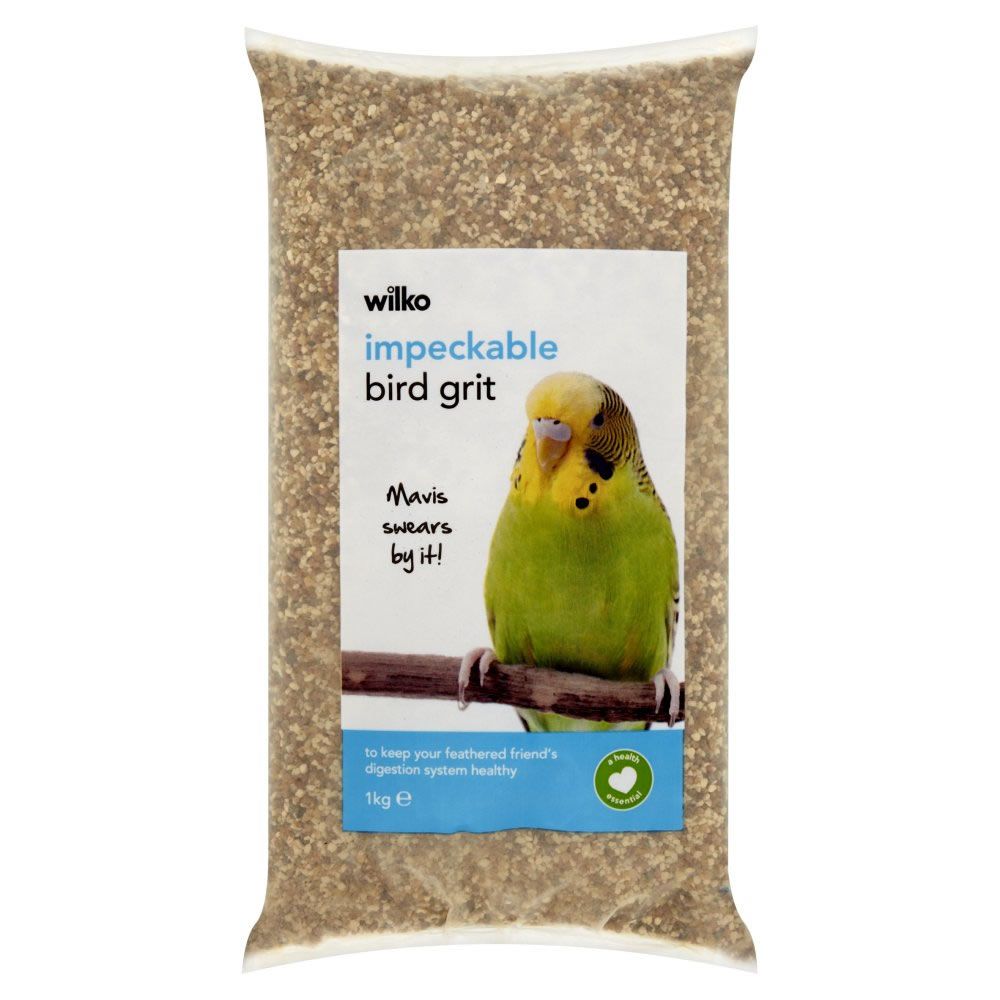
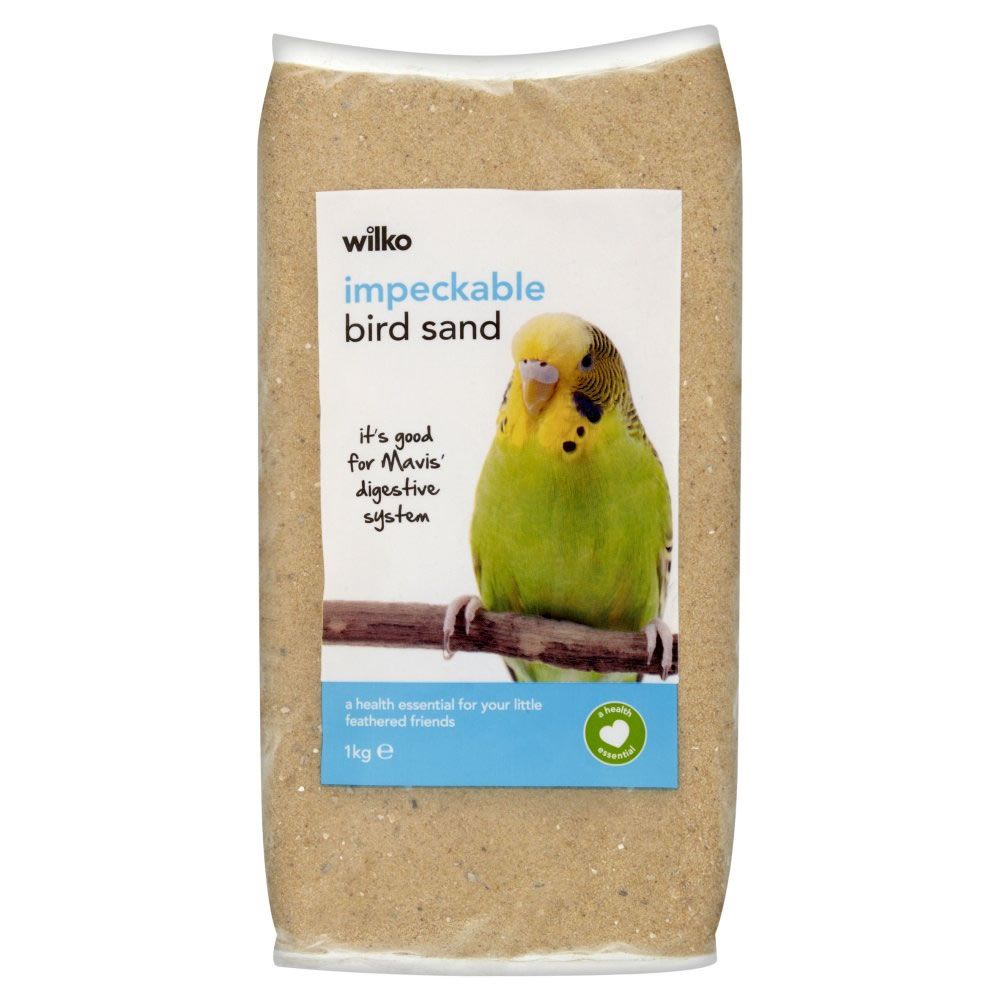
Mavis is right, I swear by it too!
I use the Wilko brand from the Wilkinsons (UK) chain of stores but I'm sure Pets at Home, Walmart or whatever your local cheap stuff or pet supplies store will have something of similar ilk.

At the time of purchase (2nd Dec 2012) I picked up this 1kg bag up for £1, whilst 1kg is still a bit much for basing it's easy enough to store away in an old coffee jar and stick in a cupboard. It can be a bit rough on it's own so I blend it with sand to get a mix of size granulation.(It's 2015 now and I still have plenty.)


Sand

I don't really care about Mavis's digestive system but if you want fine grade sand for your bases this is a good one.Once again this is the Wilko brand and like the grit you should be able to find it in most stores selling pet supplies.

Same price too, £1 for 1kg.

Personally I don't use sand on it's own as I find after spray undercoating then painting it starts to lose some of the texture and can become blobbish.


Blend of Sand and Grit

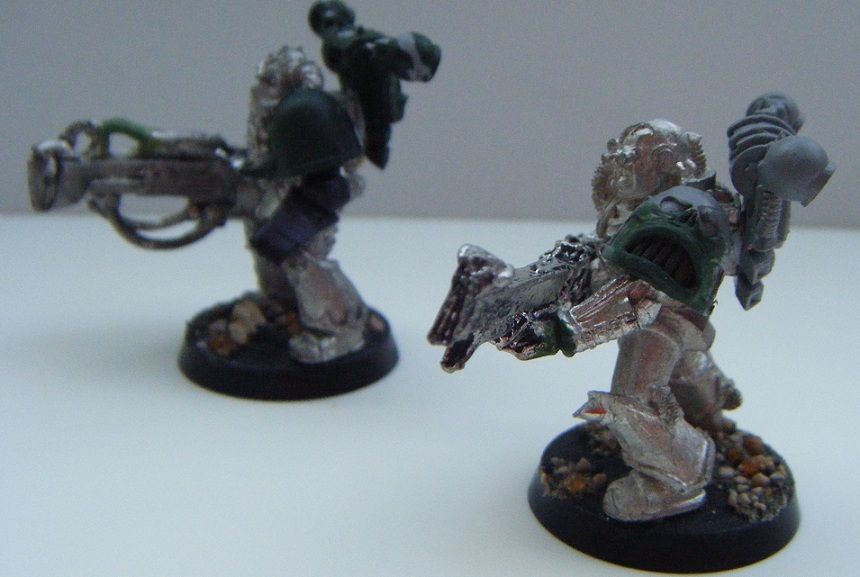
What I have done here is blend the sand and grit together in a small wide necked jar (Crisp/Chip dip jars are ideal) so that I can dip in model bases covered in PVA glue to coat them in the grit mix. A rough guide is 1 part sand to 2 or 3 parts grit but it's something that you should play about with til you're happy.
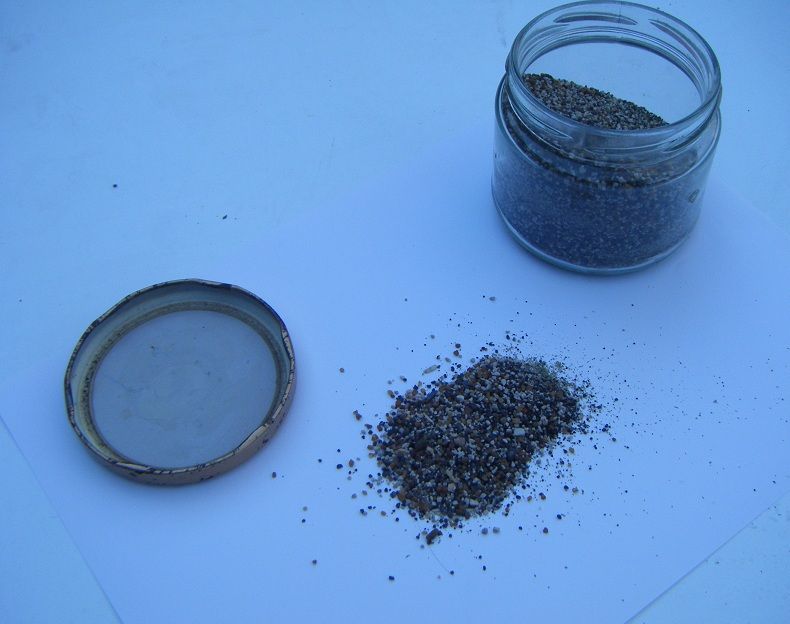


The left over sand and grit I have stashed away pure in coffee jars in the loft as I don't use either in pure form and do not need them to hand.


Slate

We have to get a little bit more inventive to get small amounts of slate as it's normally sold in 25kg bags for gardens, driveways and paths or as slates for house roofs.

Also a bit of work and some tools are required to get the most out of it.
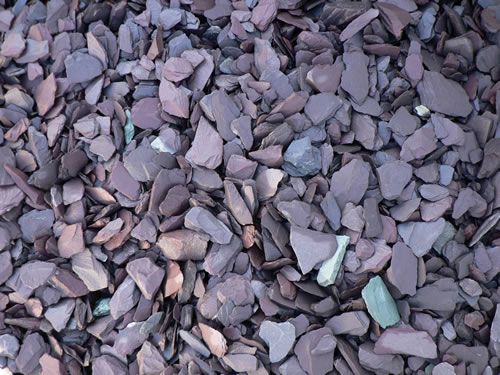


Slate Sources.

I'm going to dismiss roofing slates as a source as this is growing scarce in these days of energy efficiency awareness and is also for houses of a certain age which are not common in all parts of the world.

If you are lucky enough to live in a suburban setting you probably just need to walk round the block and you will find a household that has used the stuff in their front garden, some of it always seems to migrate out onto the public pavement/sidewalk at which point it's fair game ( Do Not be nipping over garden boundaries and helping yourself, no matter how petty it's still theft). You may even have some in your own garden or be able to visit a relative or friend who has.

If not you could visit a garden/building center, walk around the place for a bit there is bound to be some just lying around on the floor, you can probably pick up odd scraps here and there without any trouble.
Possibly honesty is the best policy with this route, you never know ask politely and the store won't mind you walking out with a handful of floor gatherings, this works best if you are making some form of purchase already mind.


Preparing and using Slate

Ok so you found some and got it home, so how do you use it?

I use Slate in 2 ways;

Large 'hero' rocks, you know the sort of thing the main man/woman/monster of your army standing heroically poses upon a jutting slab of rock (stupid really in a ballistics rich environment but hey it looks cool).

This one is just a case of pawing through your stash of slate to find a suitably angled and sized chunk.

You can use a pair of pliers, wire cutters or Mole Grips to nibble away at it to help it fit the base or re-size and shape you chosen bit of slate.
Of course wear Protective glasses or goggles, bits may well ping off during this process.
Don't forget to save up the smaller off cuts they will also be useful.
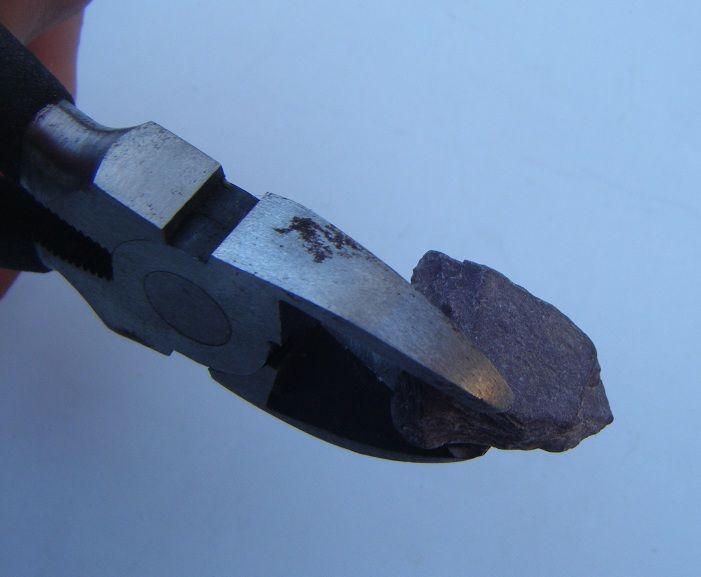
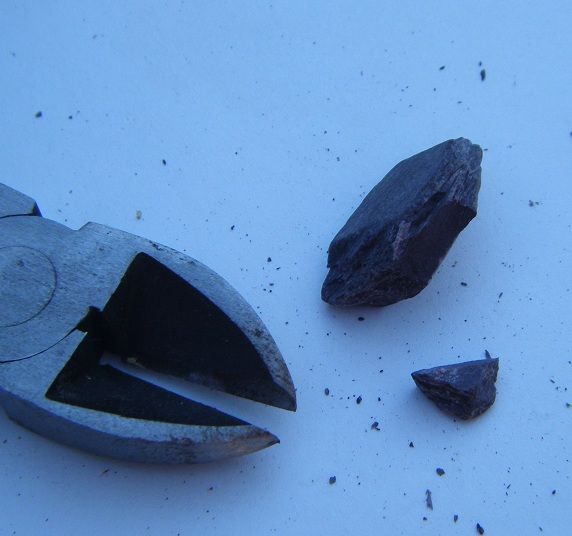
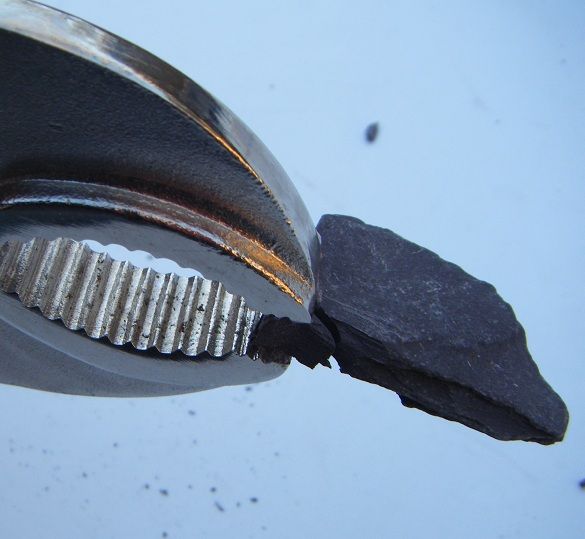
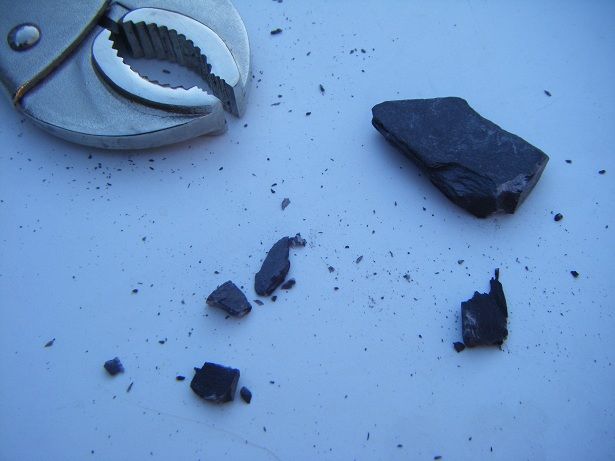
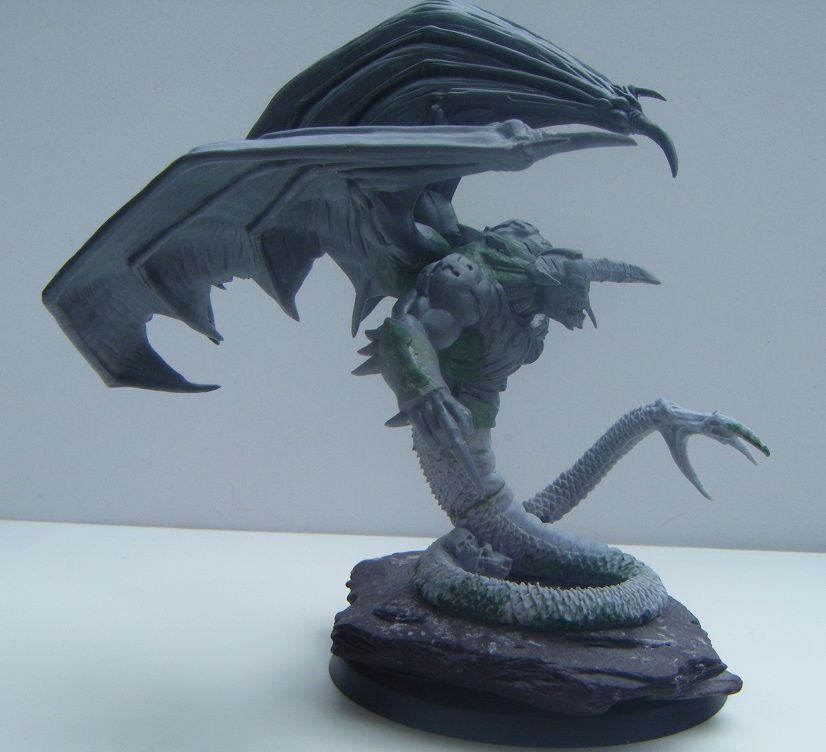


The second way is finer bits of slate used to coat bases in the same way as grit.
This requires a few simple tools and bits to prepare the slate.

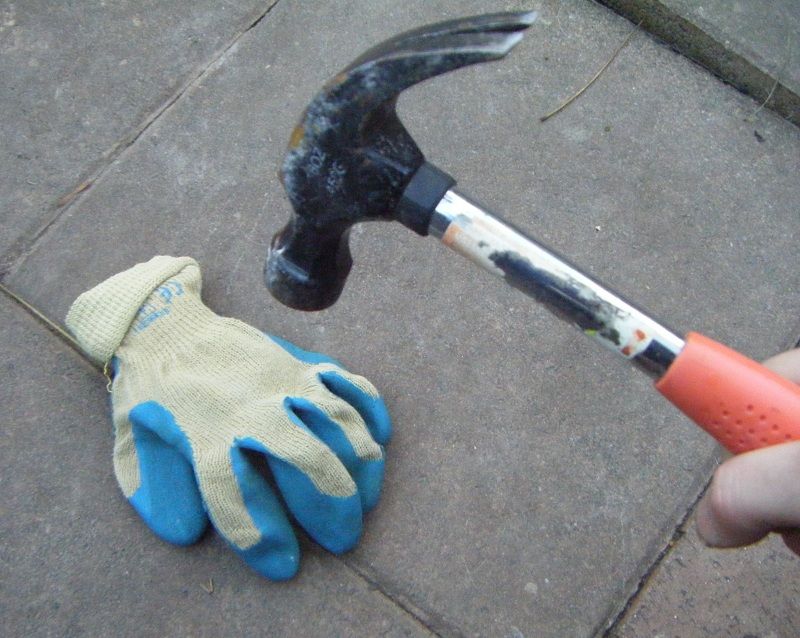
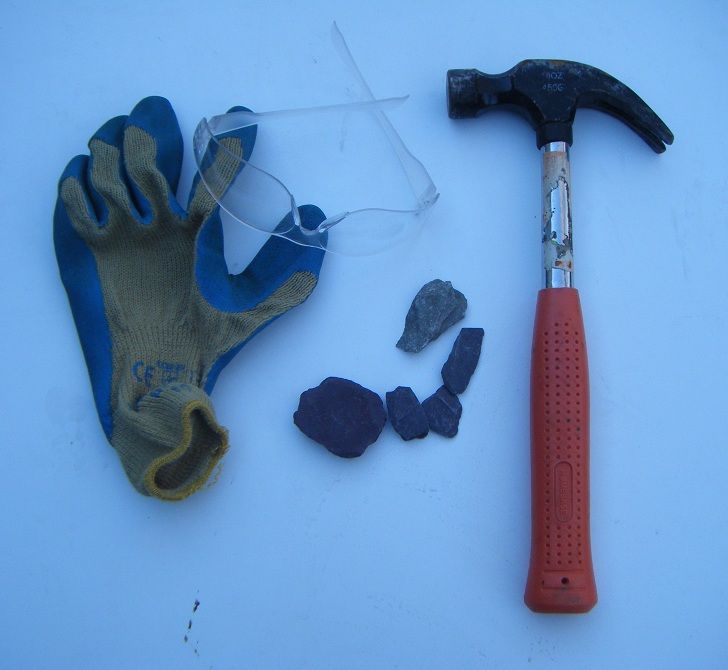
Hammer, slate, old sock or work glove ( Work Gloves are better as they can take the beating) protective goggles or glasses. Area of solid concrete or some such is also a must (not many people have an anvil in the back garden).


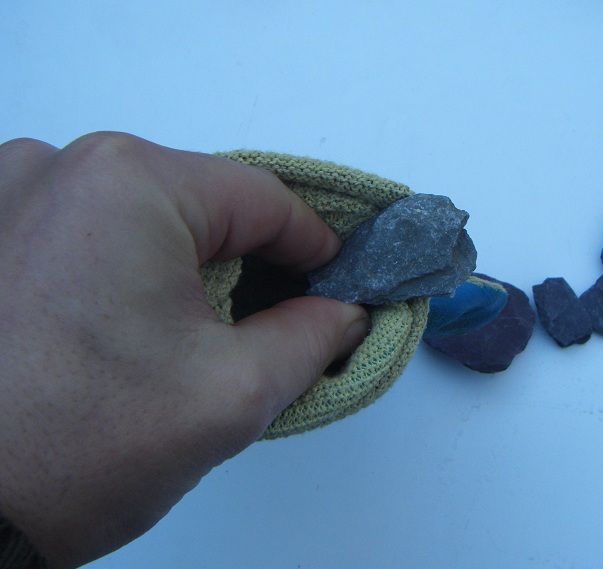
Place you're slate in the glove or sock, only a couple of bits at a time as too much actually makes the process slower.


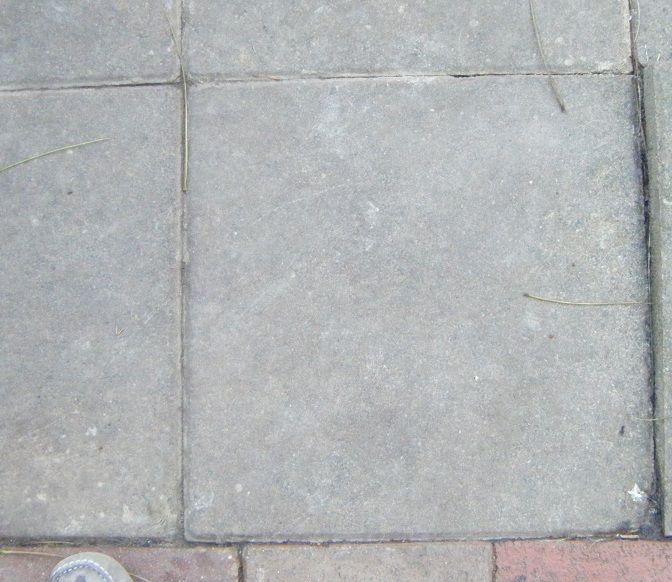
Select an area of good solid concrete (or your Anvil). The smoother the better - I found slabs to be the best ( don't be smashing nice new paths about btw, it causes arguments lol).


Hammertime ! First put on you're protective glasses. The glove is to capture the bits as you smash them up but is by no means guaranteed to stop sharp bits of stone flying out! (Socks even more so.)

Place the glove containing the slate on the concrete surface and have at it with the hammer
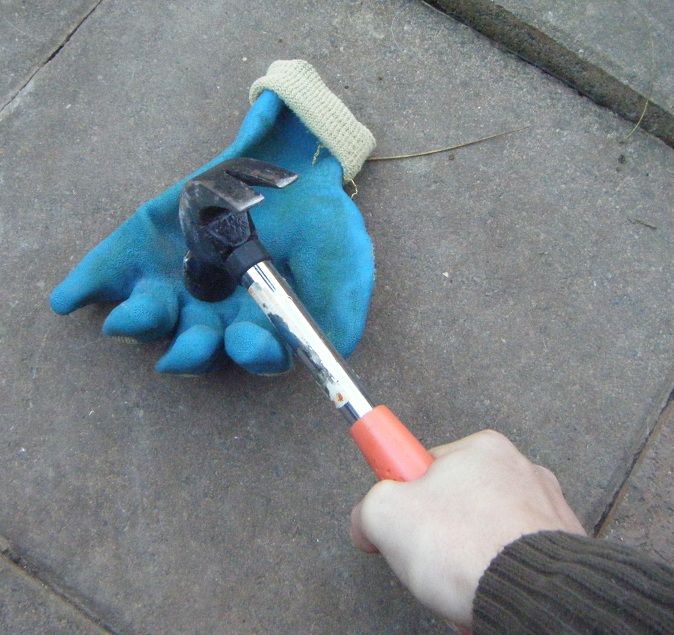


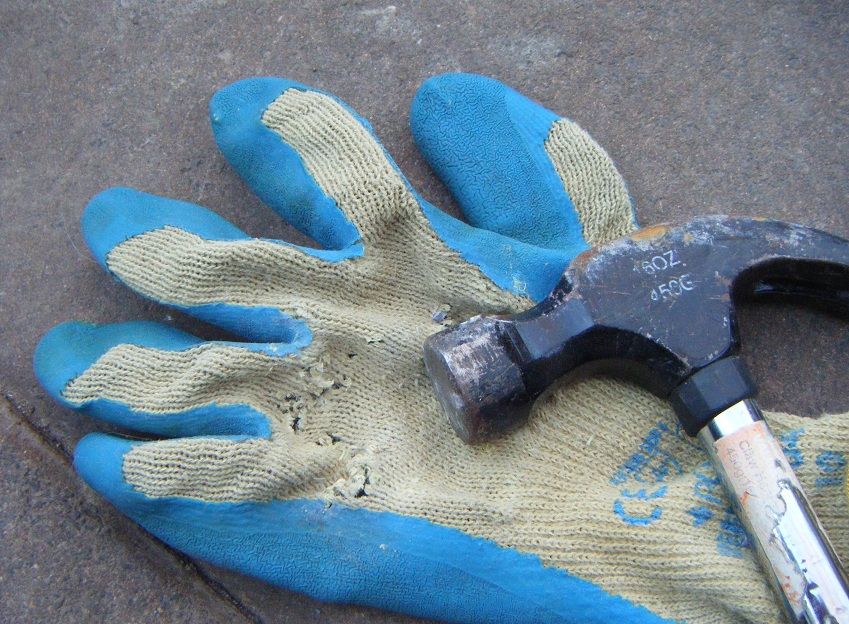
Note the damage, this is why old gloves are required, they will be no good for normal use after this.
 Also this can be a bit loud, remember you neighbours might not appreciate the noise of some loon smacking a glove full of sedimentary rock with a hammer and try to choose sensible times of day accordingly.


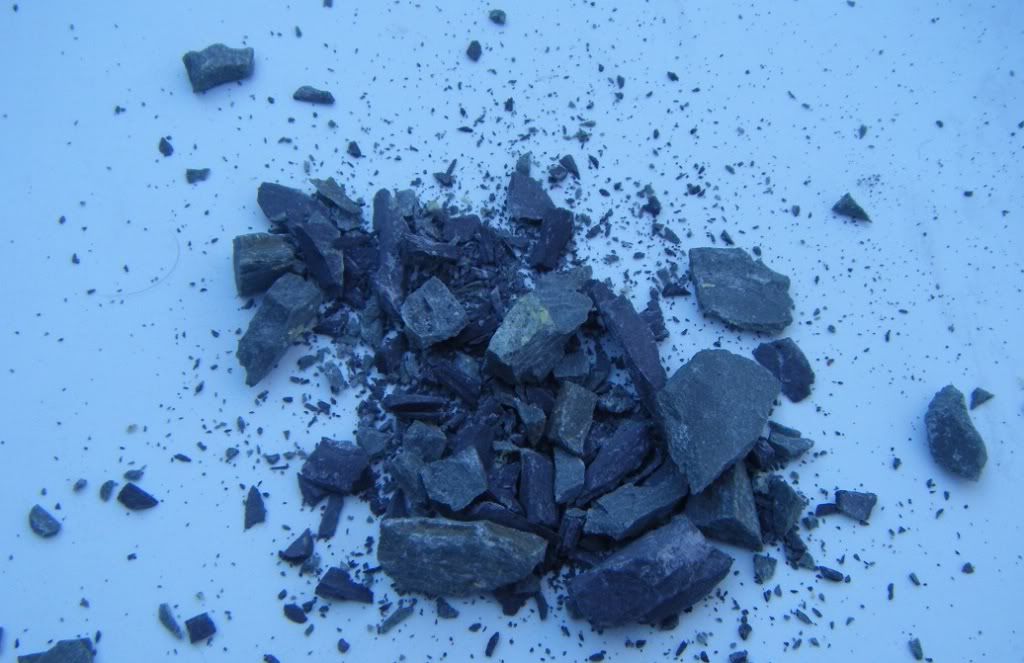
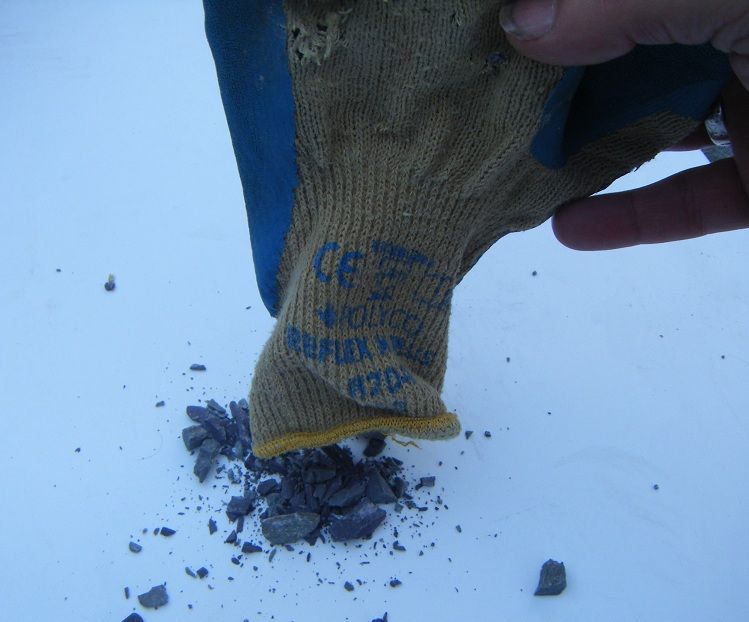
Over a bit of paper (so it is easier to collect up the small bits) tip out the glove.


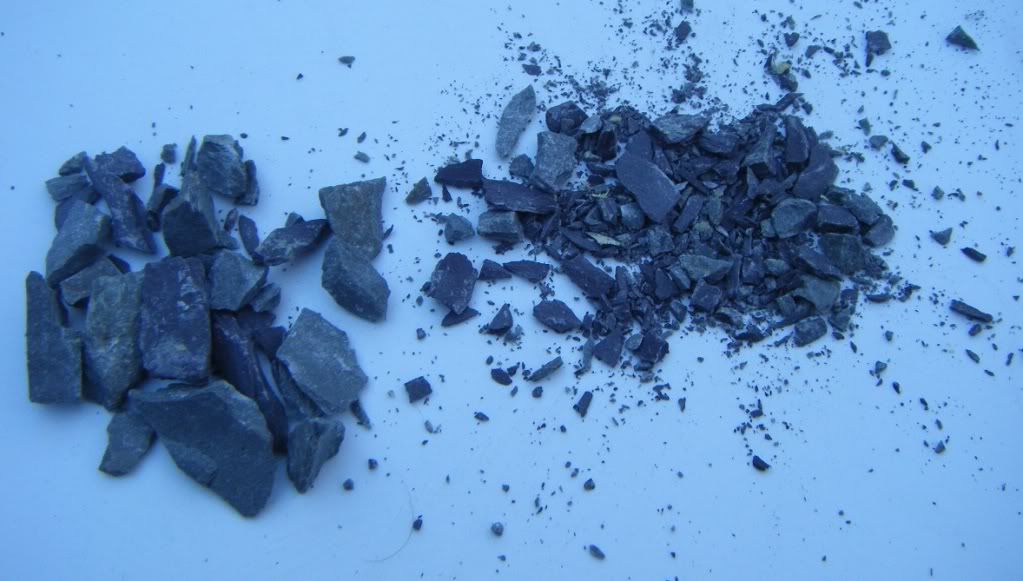
Roughly sort out the bigger bits and pop them into a pot, then tip the smallest parts into a different pot


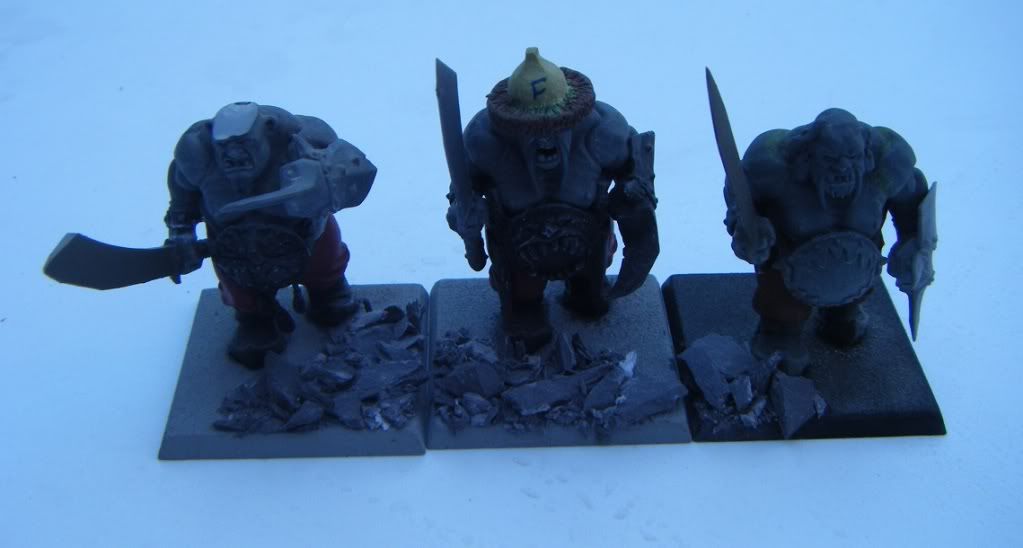
Then you are ready to use it on some bases.


Terracotta.

I won't go into much detail with terracotta as it will pretty much be a complete repeat of the above entry for slate. In particular the smashing up process is exactly the same.

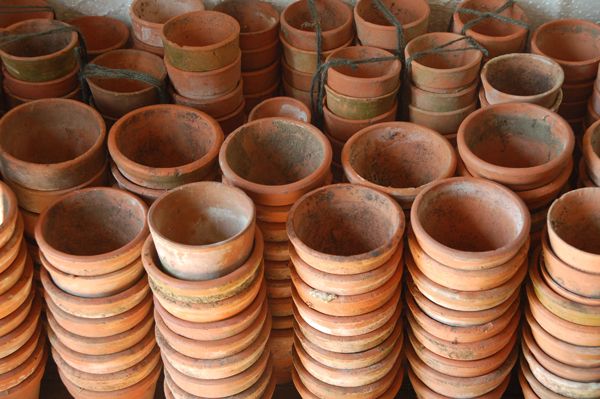
Flower Pots Planters.
East to obtain, walk in to a garden center and buy away, when I wrote this you could get a 4 inch flower pot for about £0.55.


Tiles.
The preferred terracotta medium, once again single tiles can normally be bought in DIY shops for about 50 pence, used cunningly they are great for simulating broken slabs of concrete to denote fallen walls etc.


Quick mention on fixing all this stuff to bases.

Just a quick explanation I always use PVA glue to fix finer grade grit/slate to bases, when that is all dry I then use a water thinned PVA (about 60% water to 40% PVA) washed over it all to seal the substrate and improve the adhesion to the base.
This stops the substrate absorbing too much undercoat and paint and helps with the issue of little bits falling of and moving to places you don't want it.

With large bits of slate/terracotta I use Super Glue to fix it to the base and sometimes a bit of GS or Milliput squeezed in around the edges for extra strength.

To add a mini to the top I normally Drill and Pin all the way through the base, slate and into the model for strength, use an old drill bit as it will blunt it and be patient as you go.